I want to lasercut something!
It's easy to get started with lasercutting! Before we start, there are a few things that need preparing.
In this example, we are going to be cutting out a shape that we have drawn onto a piece of wood. The steps we take can be applied to any kind of shape and material that the machine supports.
First, draw out the shape you want to cut. It is best to do this on white paper, using a pen or Sharpie/Vivid to colour in the parts that you want to remain. Anything that is not coloured in and left blank will get cut out.
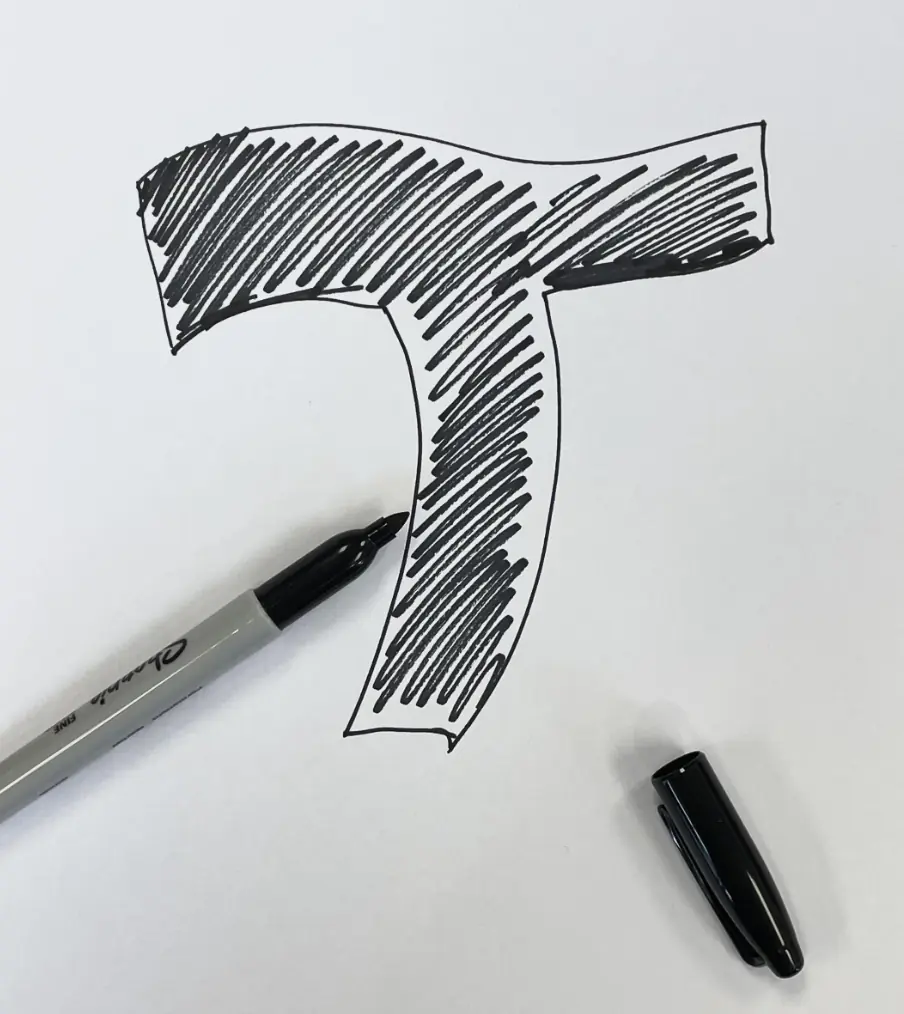
It is best to think about your shape as like a stencil. There is positive and negative space, where some parts are cut away and other parts are left behind. If you are drawing a complicated shape, keep in mind that all parts need to connect.
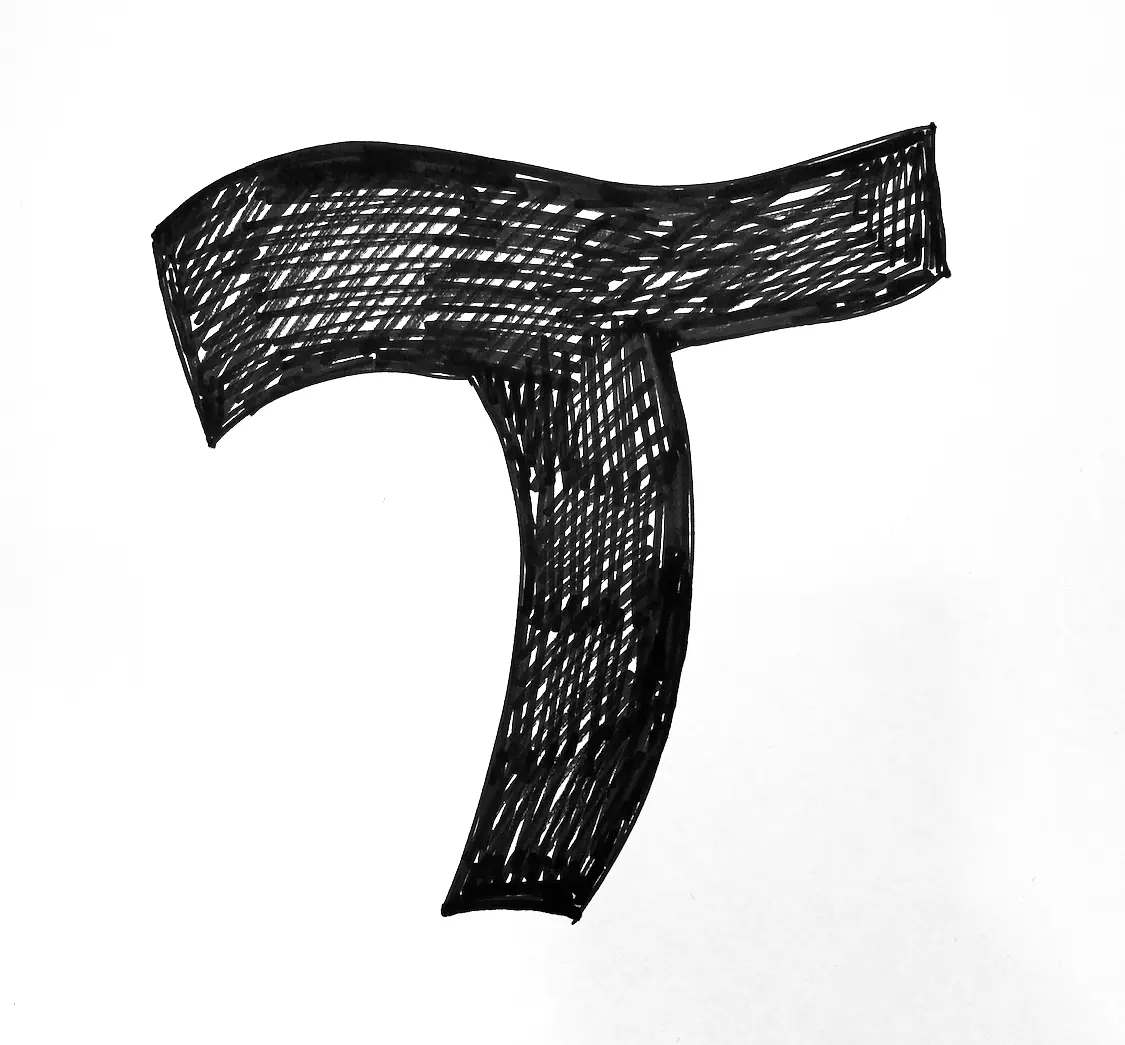
Once you have drawn your shape as clearly as you can, take a photograph of it. Try to get your photograph as flat on to your drawing as possible, and avoid getting the edges of the paper.

If you have any shadows or reflections in your photo, use the native editing features on your phone to adjust this. Adjust things like the Exposure, Contrast, and Highlights to make your photograph look a lot more clear.
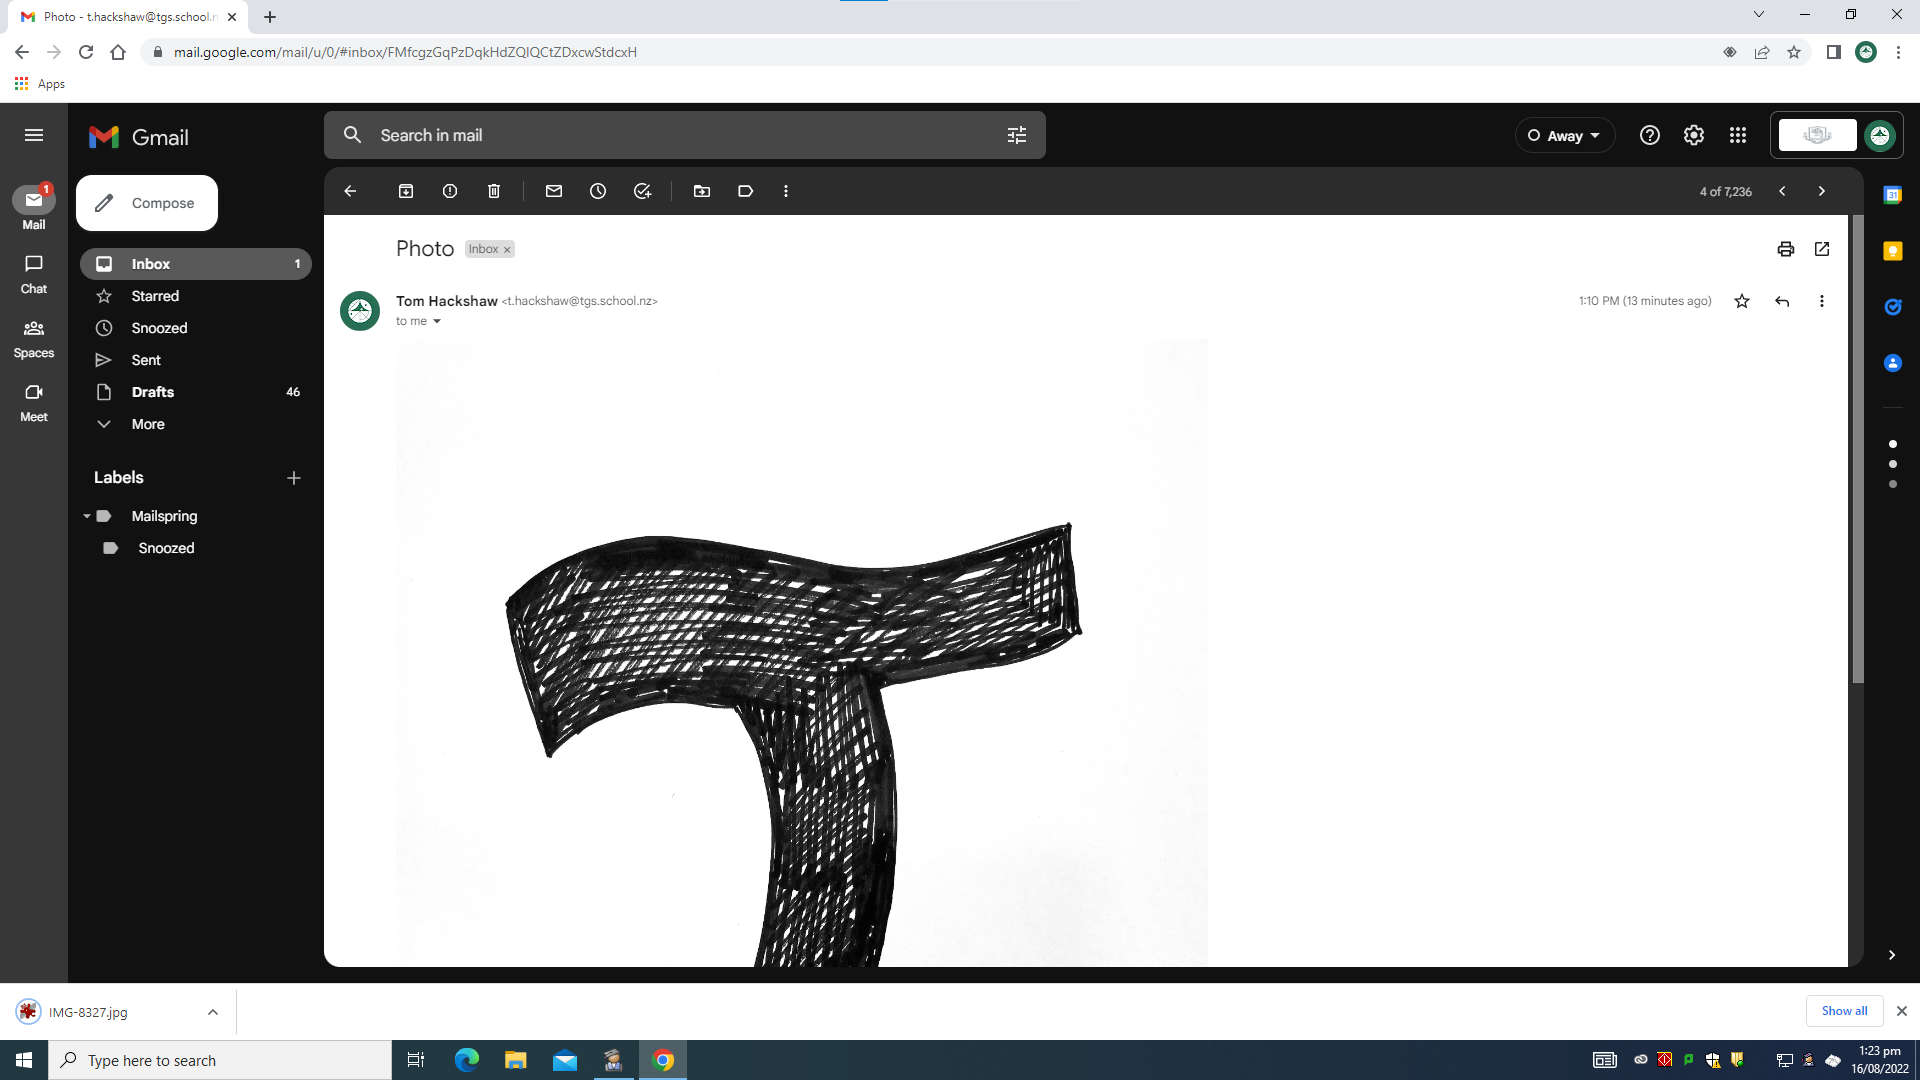
With your photograph ready, send this to your school email as an attachment. If you don't have the Gmail app on your phone already, you can always use the web version to send emails. It should look a bit like this:

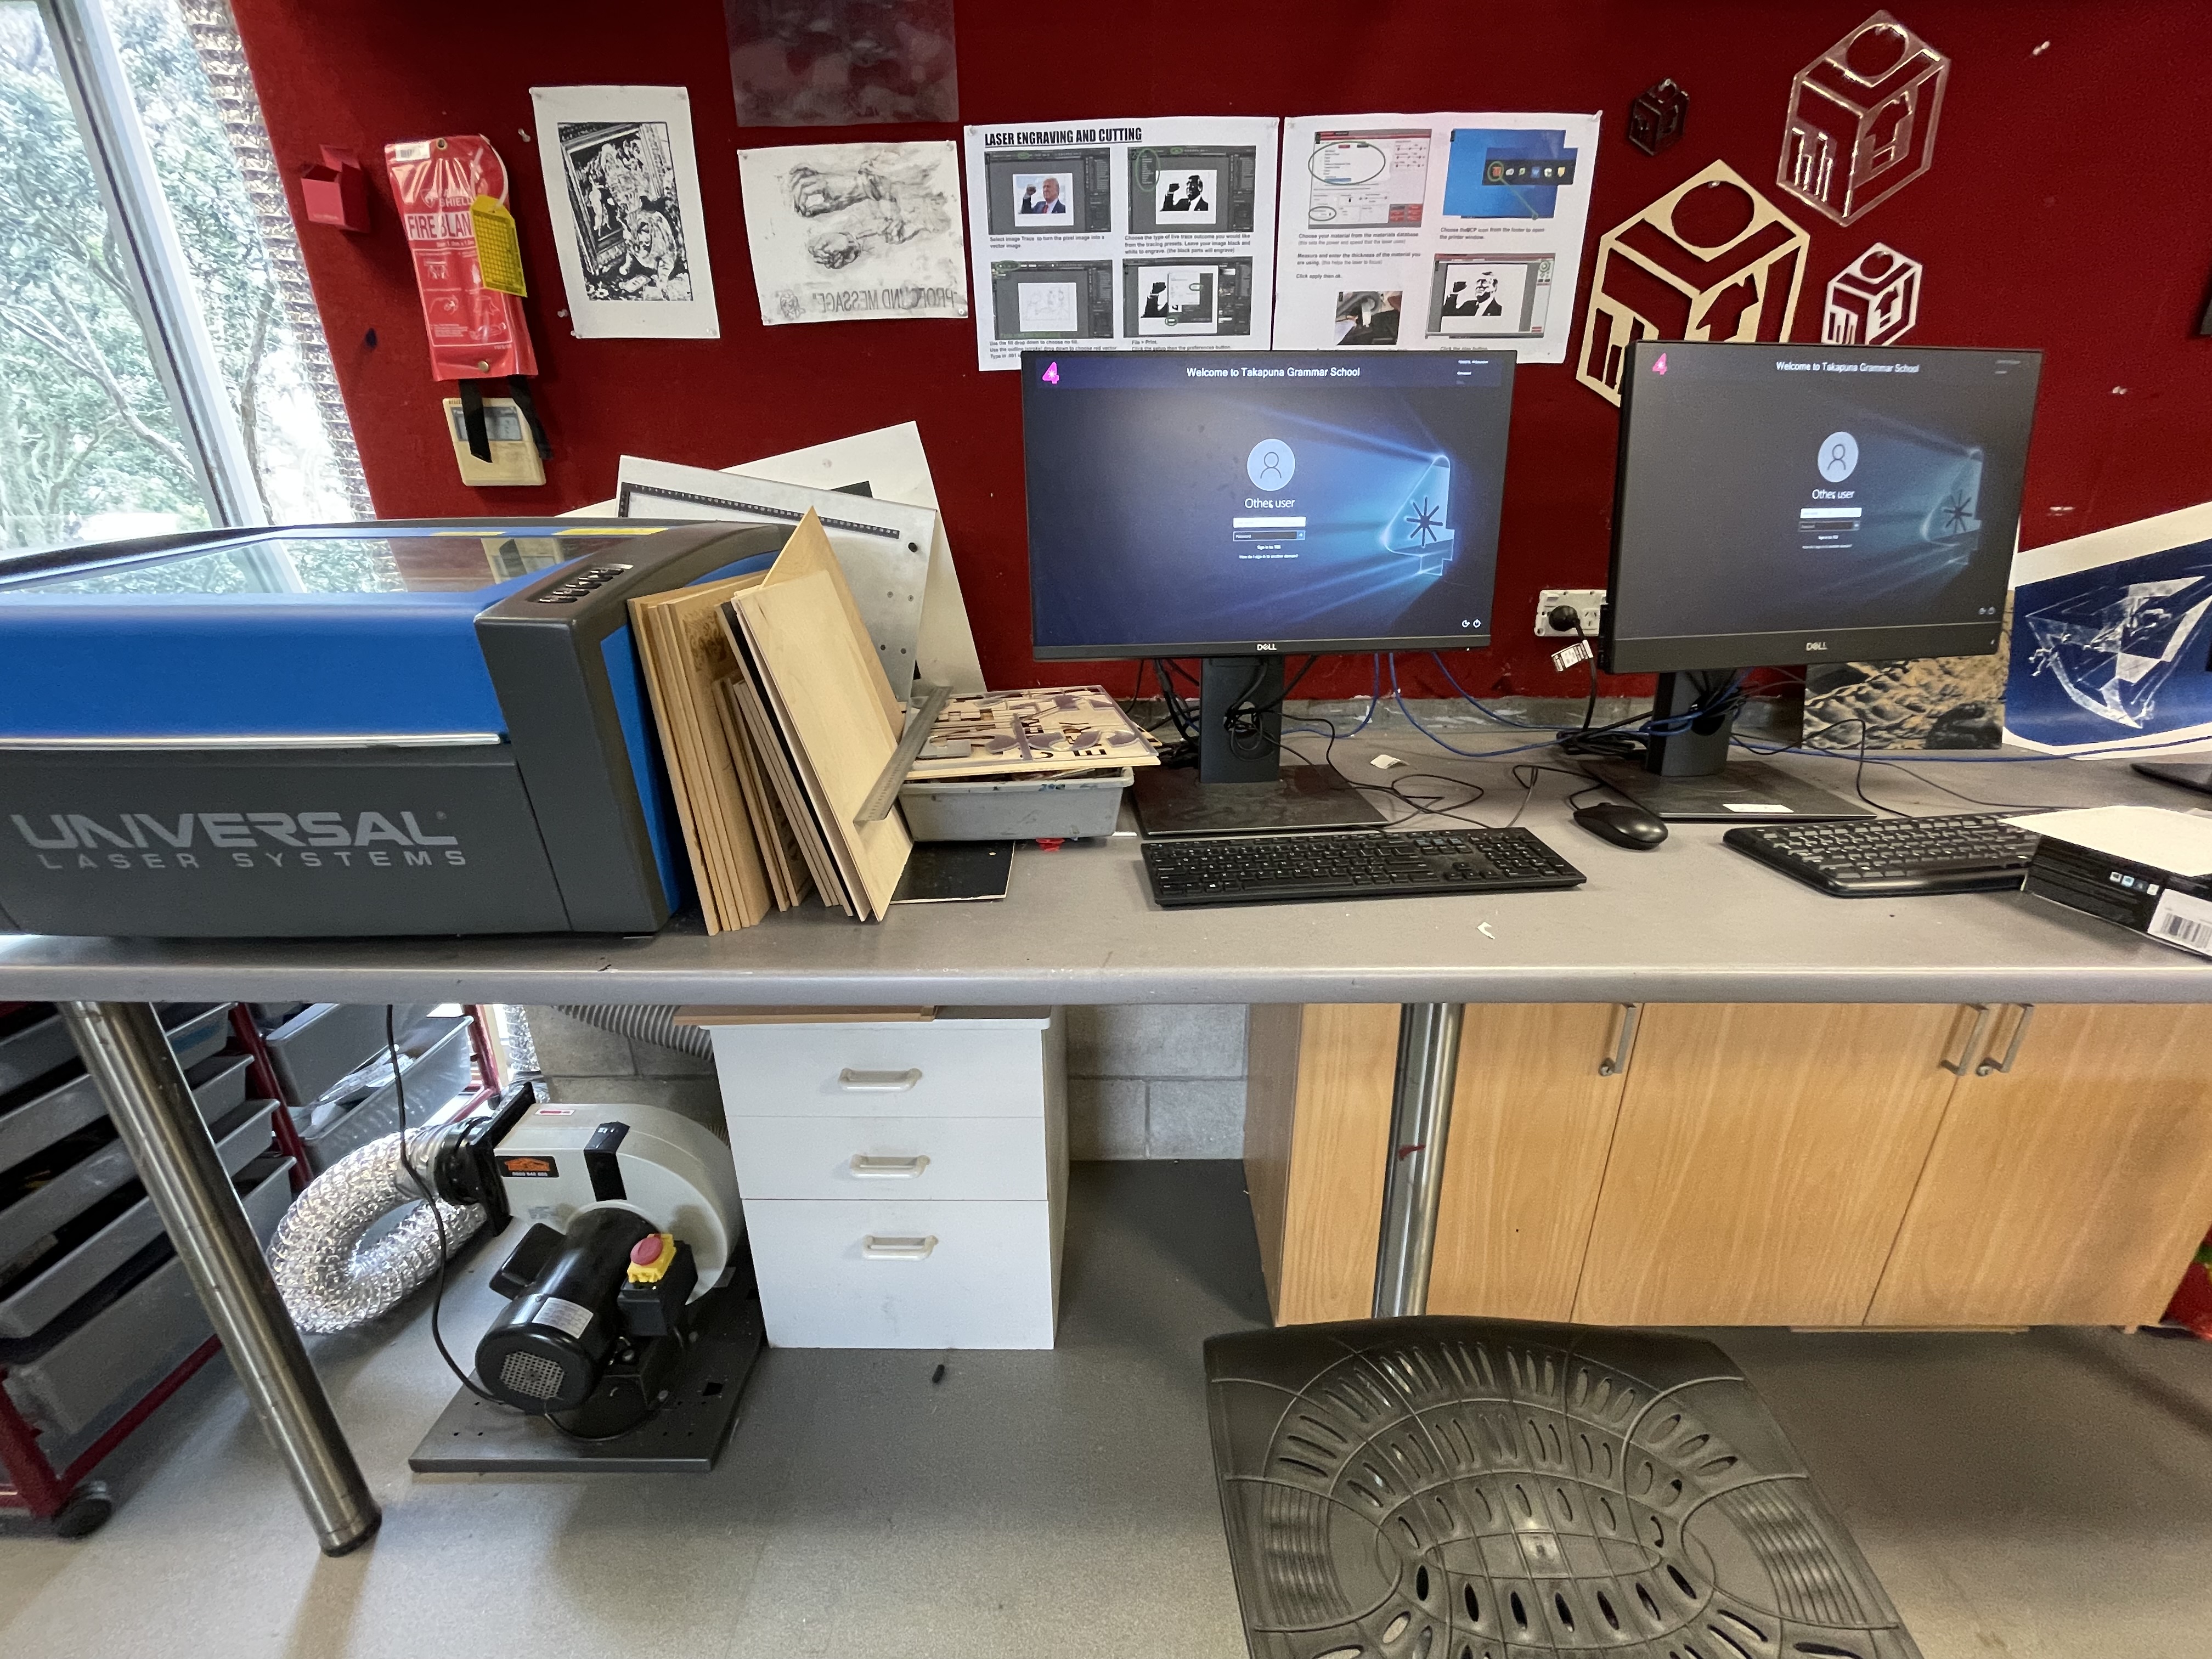
Now, we want to log into the lasercutting computer in Te Wāhi. Use your normal school ID and password to login, and then go to Gmail to open the email you sent yourself and download the photograph onto the computer.
With our photograph downloaded, it is time to process our file so that we can cut it. Click on this link (opens in a new tab) and double-click the downloaded file to open it in Adobe Illustrator.
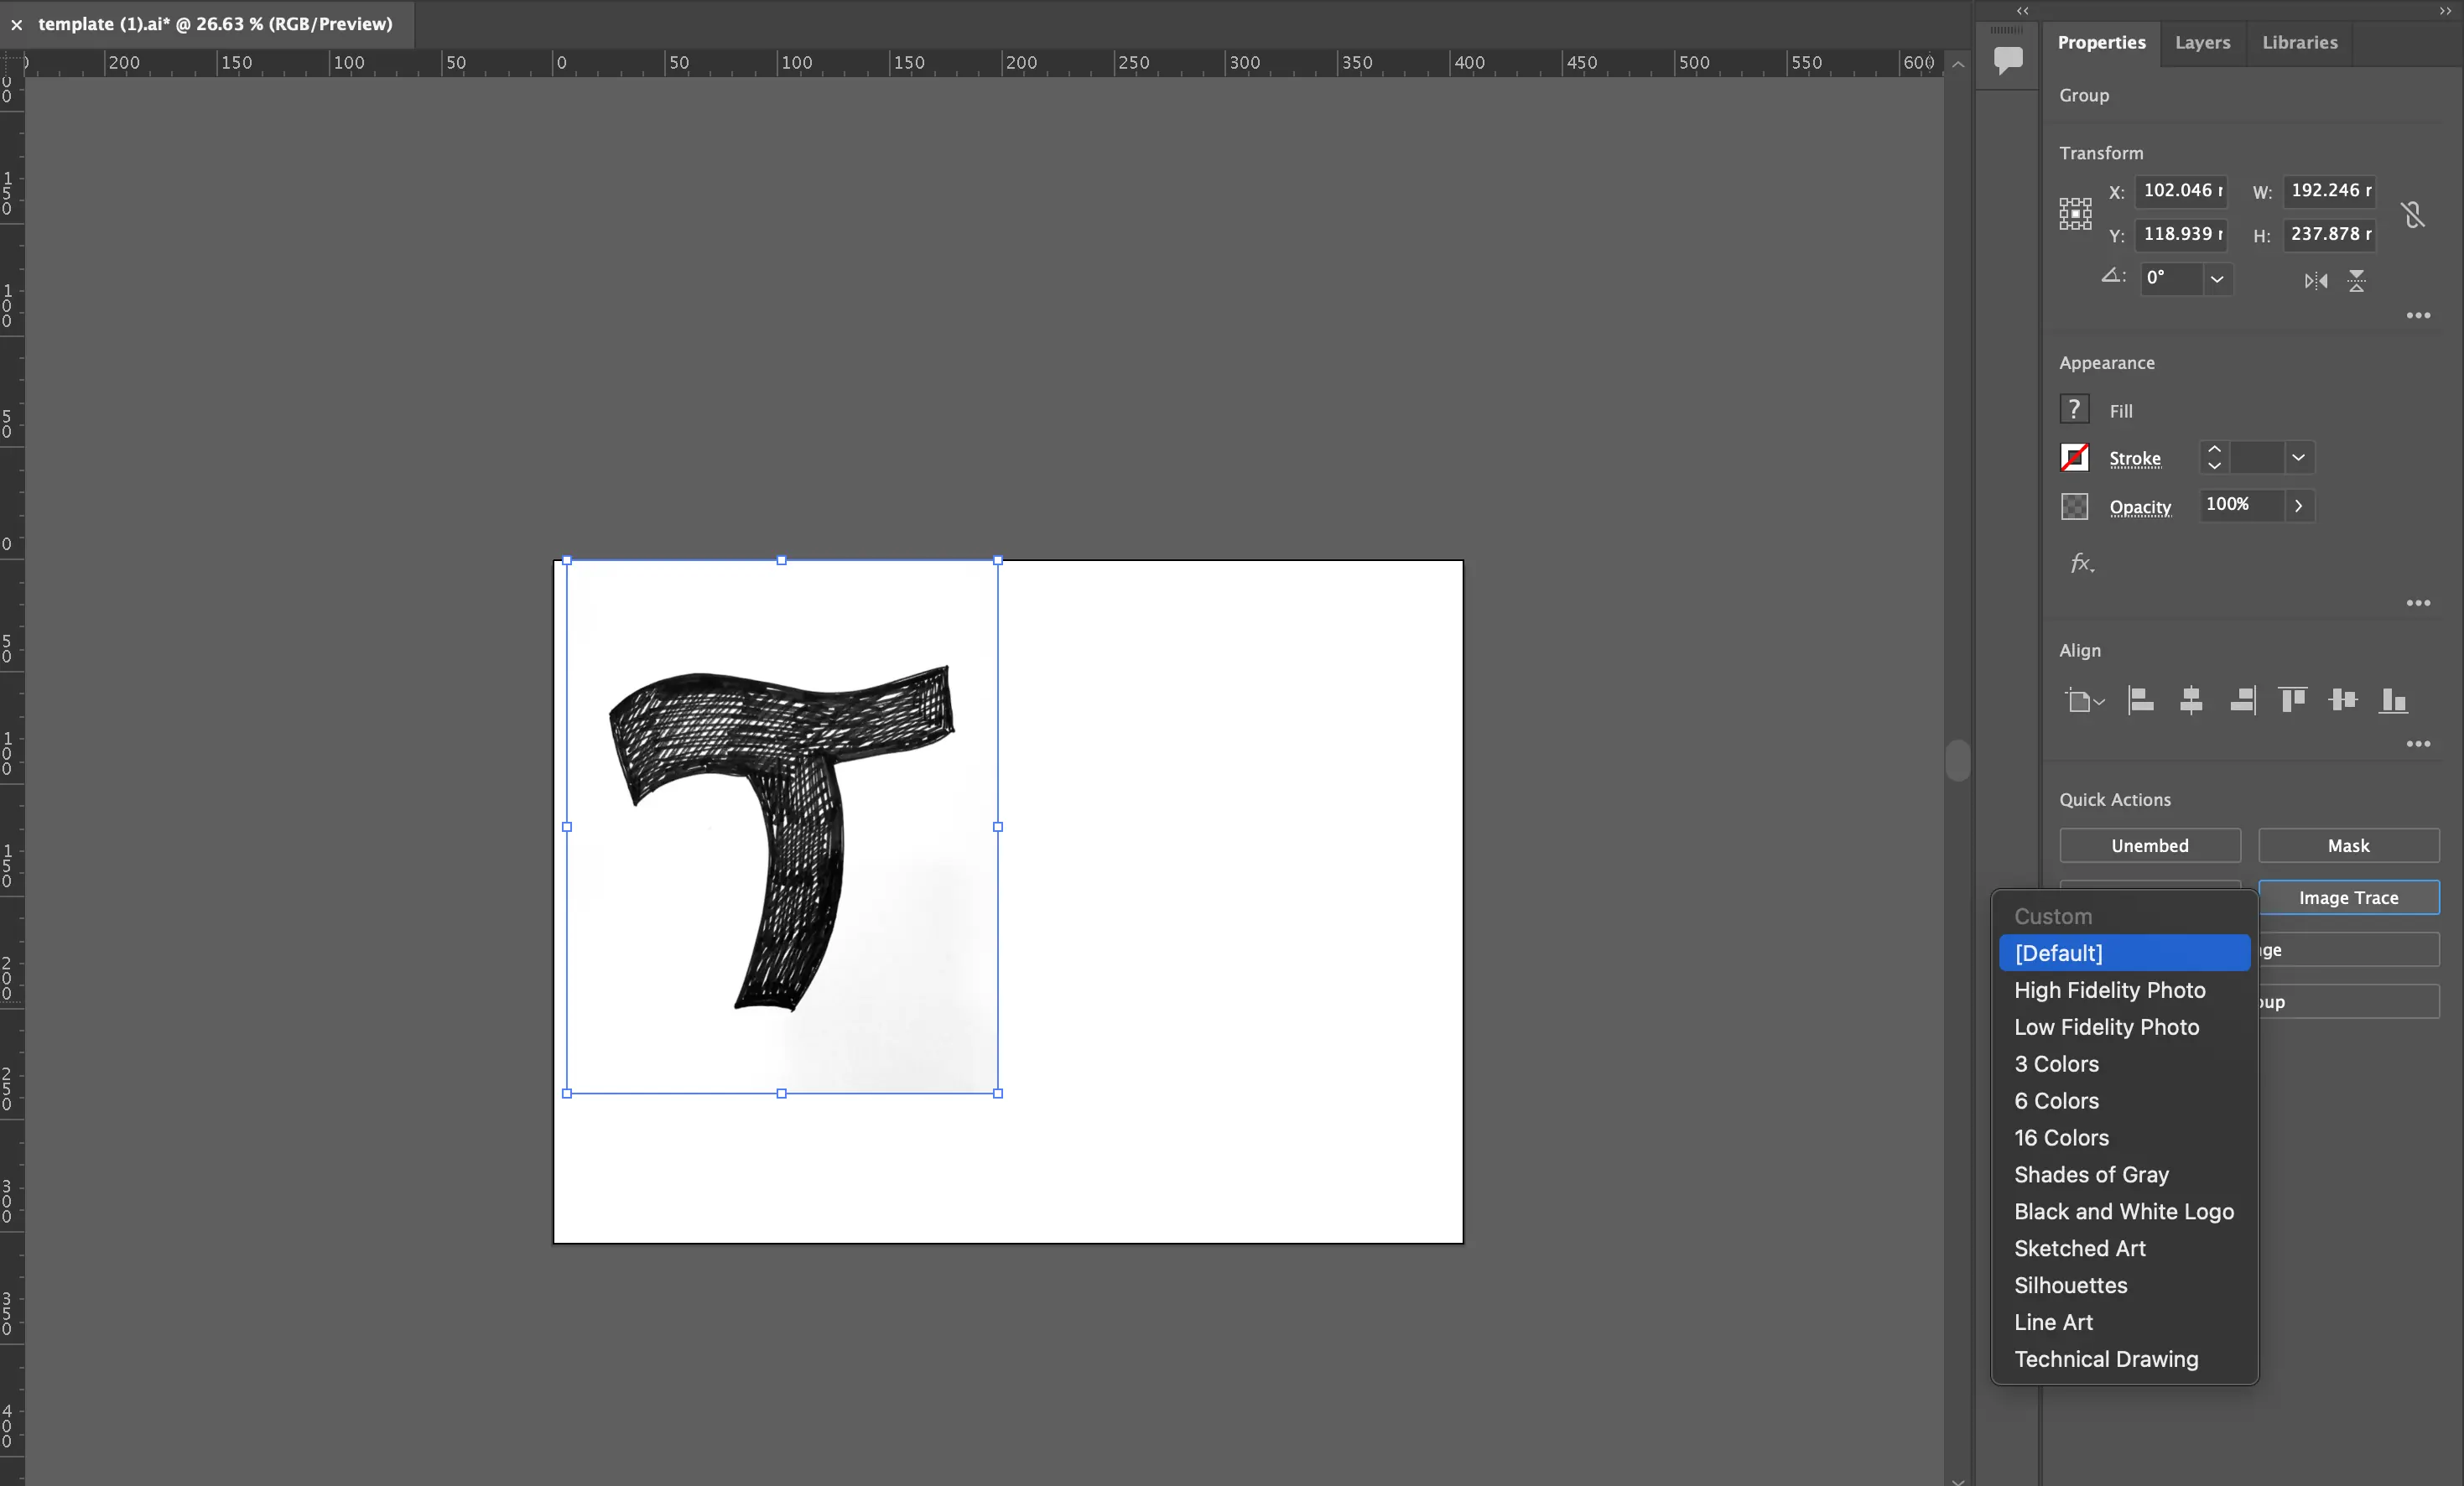
Drag and drop the photograph of your drawing onto this document. This empty document is the exact same size as the lasercutter, so you can get an idea of how small or big you can cut things.
Resize your drawing to be the exact size you want it to be cut. You can see the measurements by clicking Control + R to bring up rulers and guides which show how big everything is. When you are happy with the size, it is time to process your drawing.
Click on the button which says Image Trace, and select the Default option.
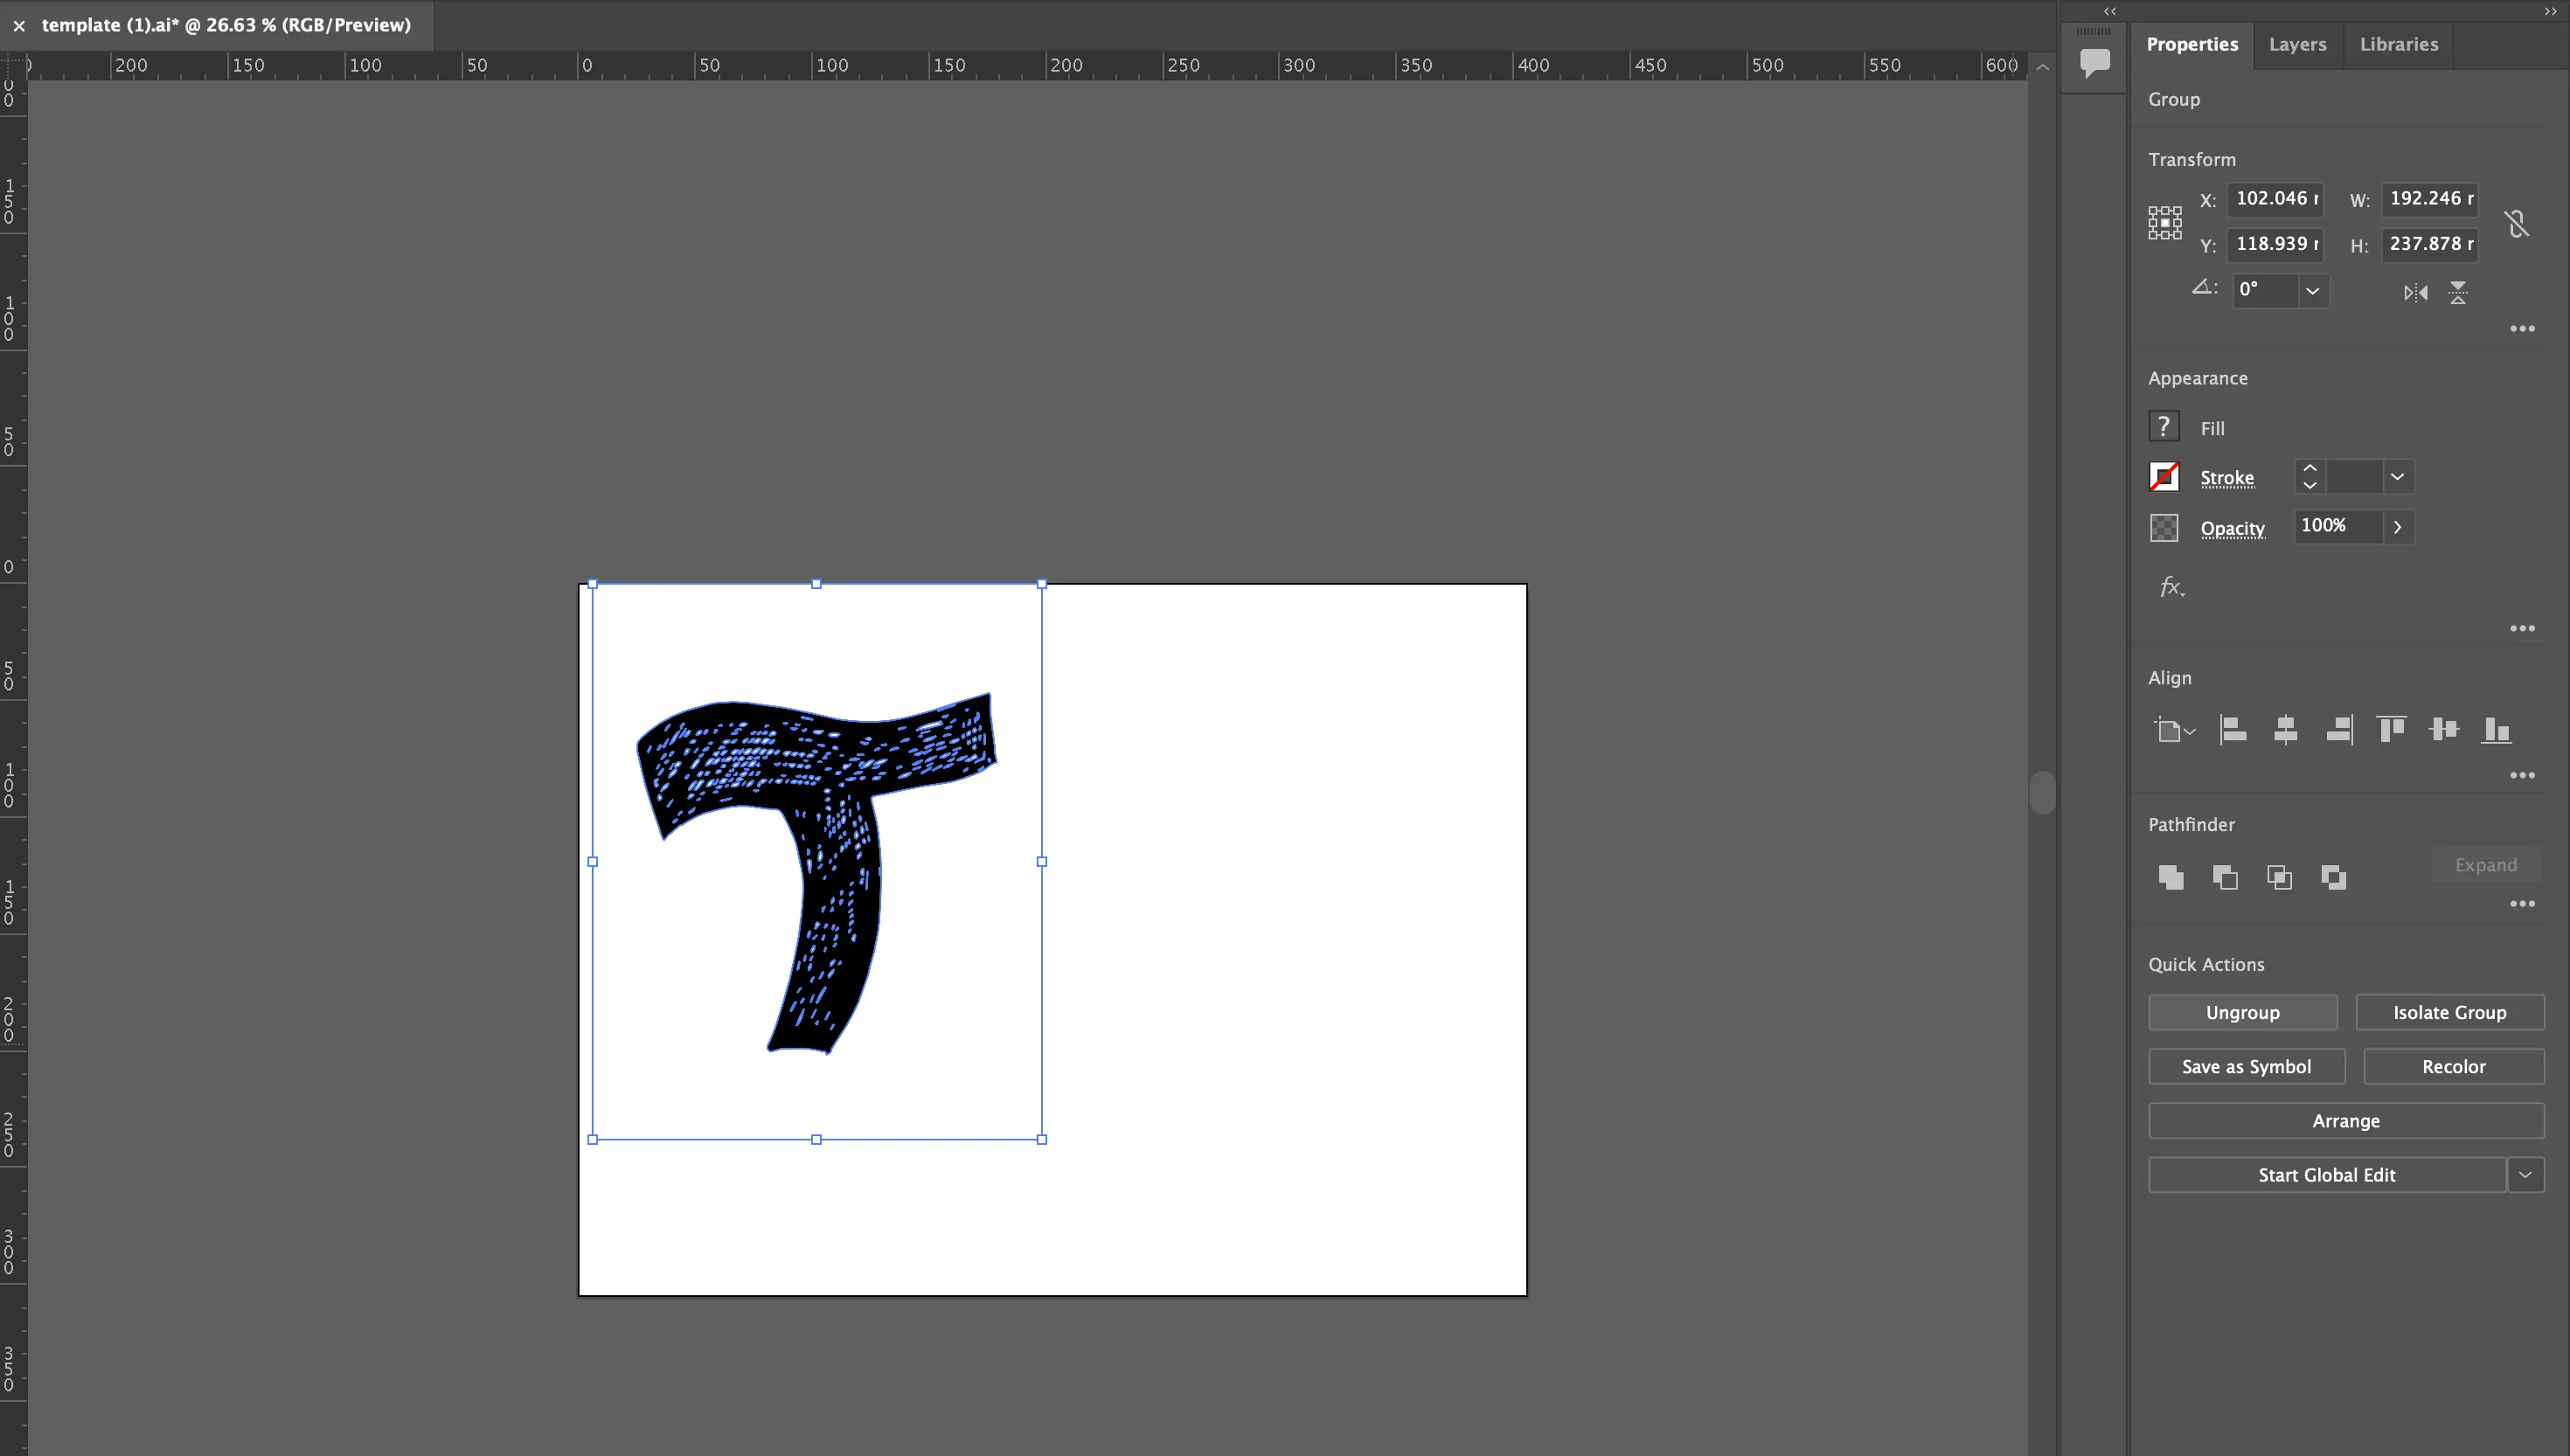
Illustrator cleans up your photograph so that it is just your drawing design which is showing. Now, click on the Expand button.
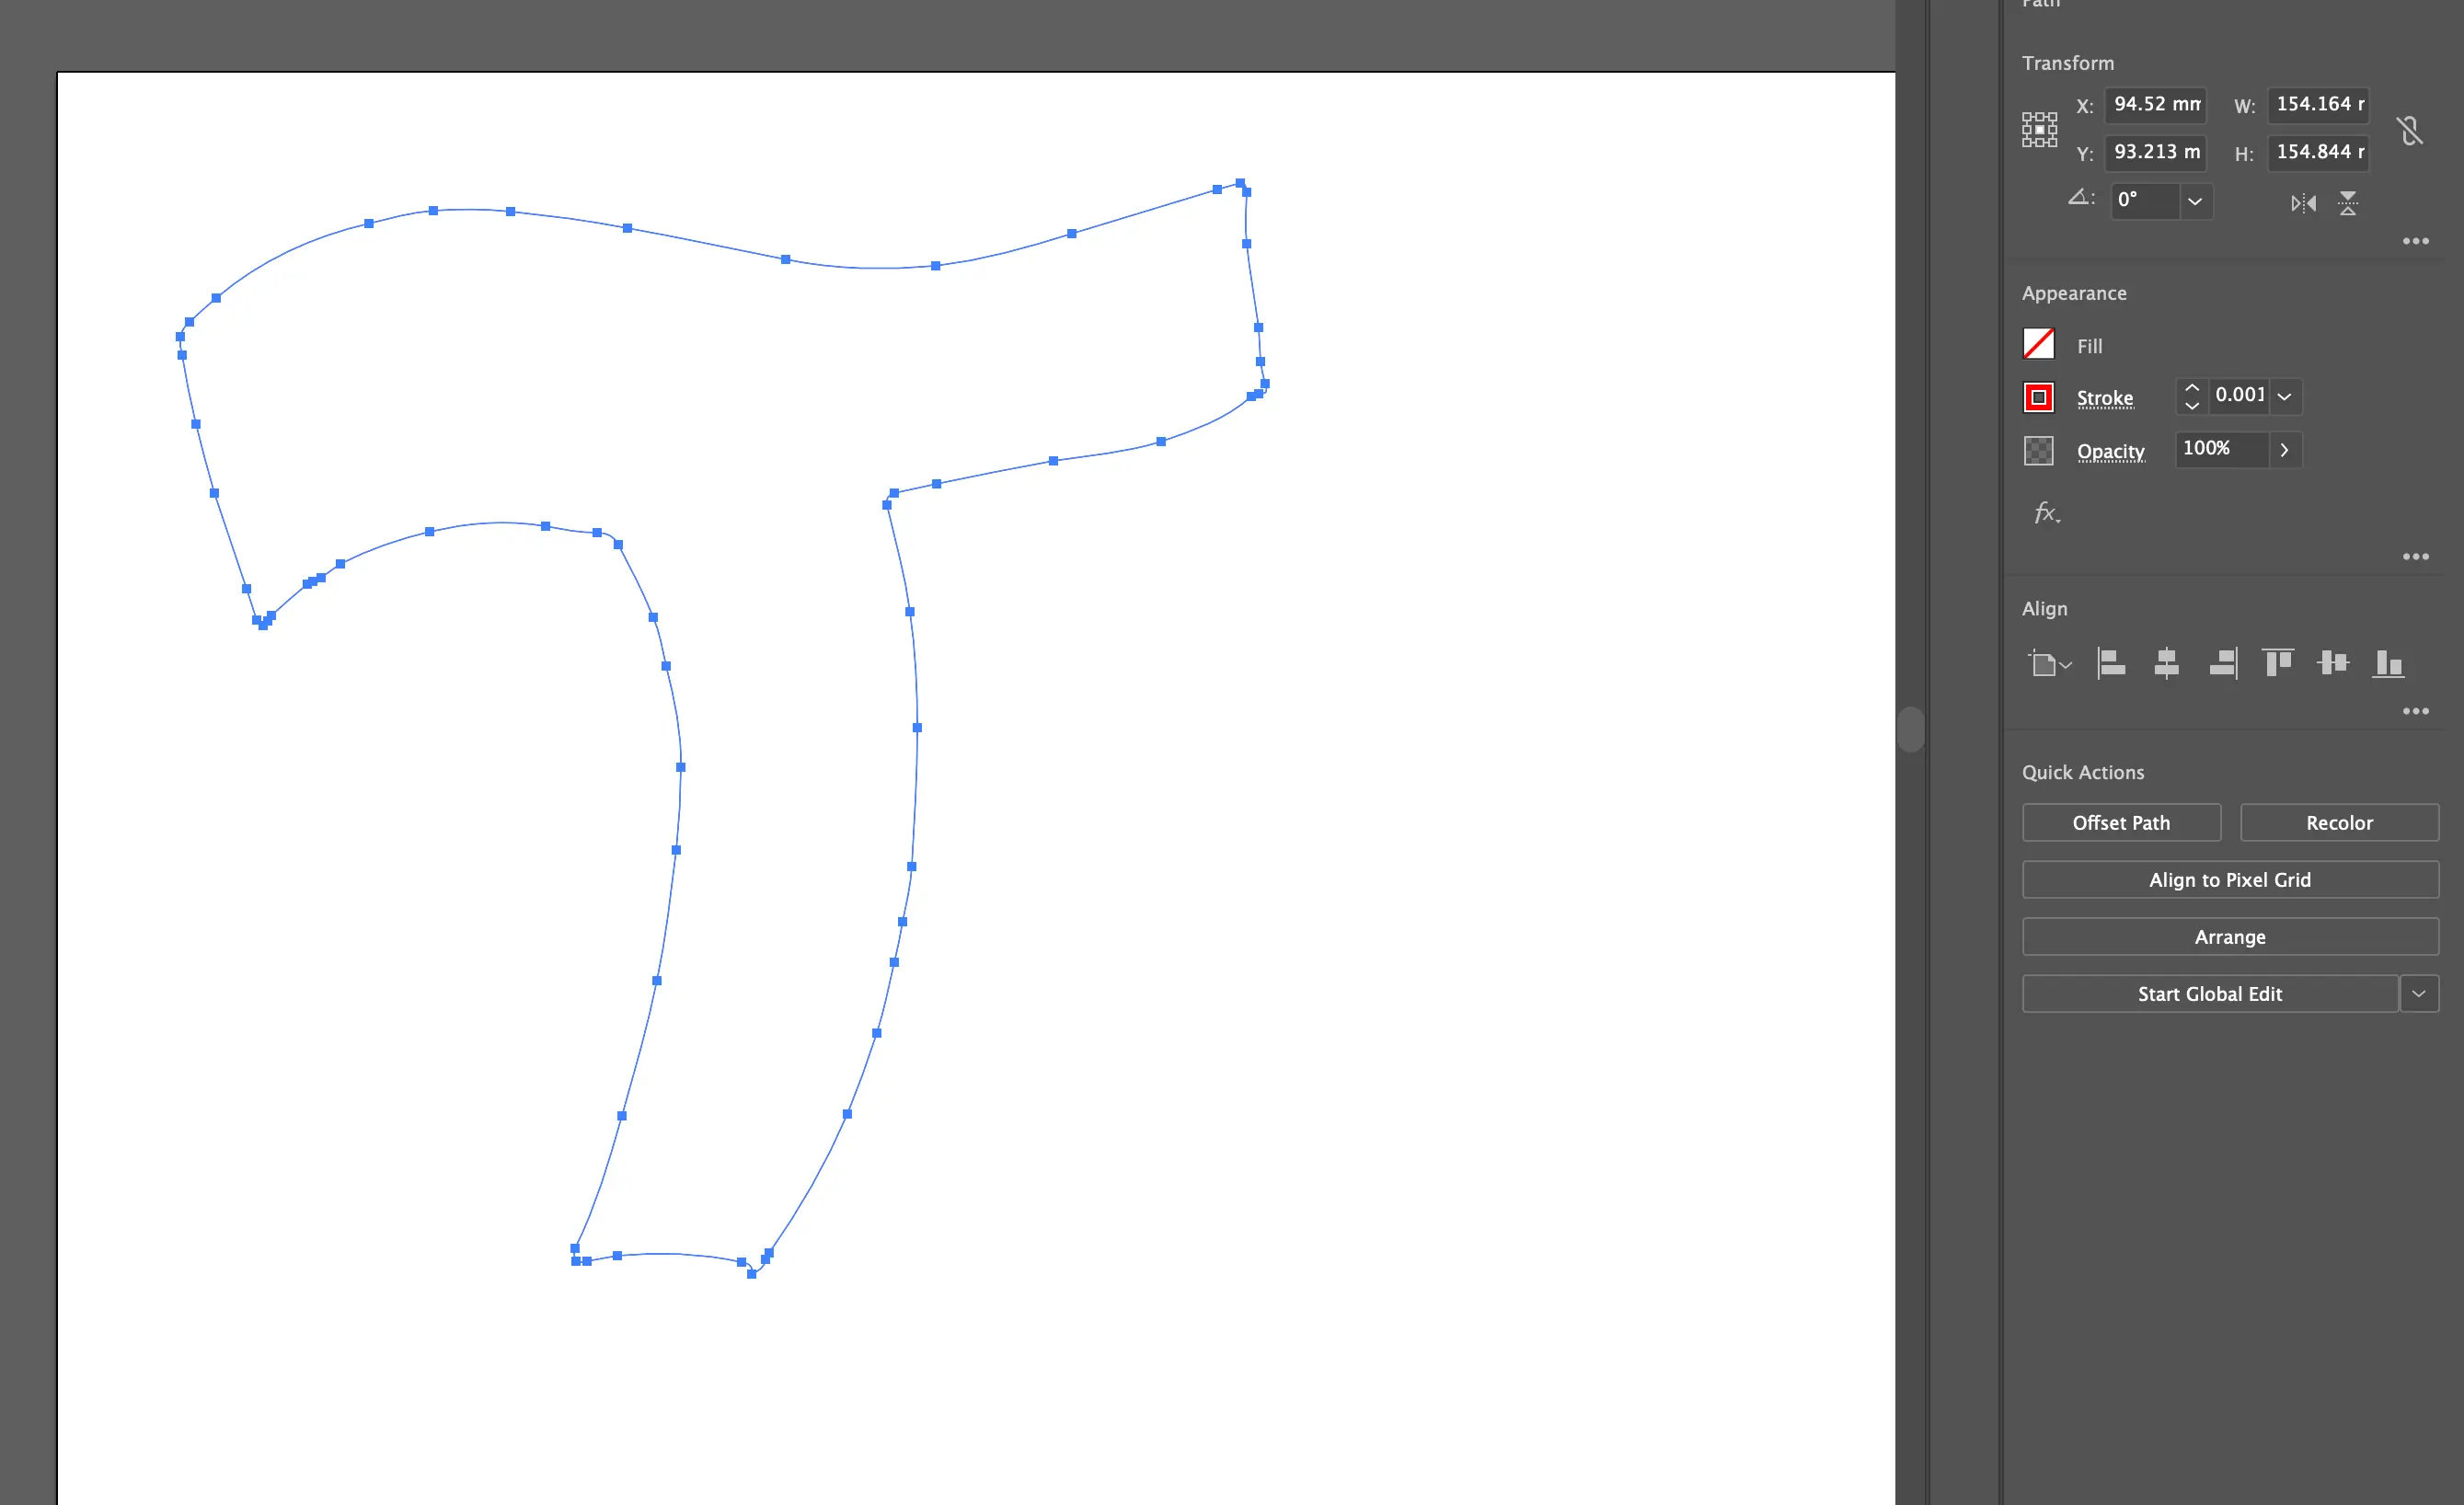
We can now adjust the colours and lines of our drawing so that it can be read by the lasercutter. Go to the Fill and Stroke options, and change this from Black to No Fill and the stroke to be Red at 0.001 thickness.
It is important to set the thickness of the outline stoke to be Red and 0.001. This is the exact measurement of the laser in the machine, so anything smaller or bigger than this number will not work.
With your colours and lines sorted, it is time to send this to the lasercutter.
Go to File > Print > Setup > Print Preferences. Here we will be able to adjust our lasercutting settings and materials before sending it to the machine.
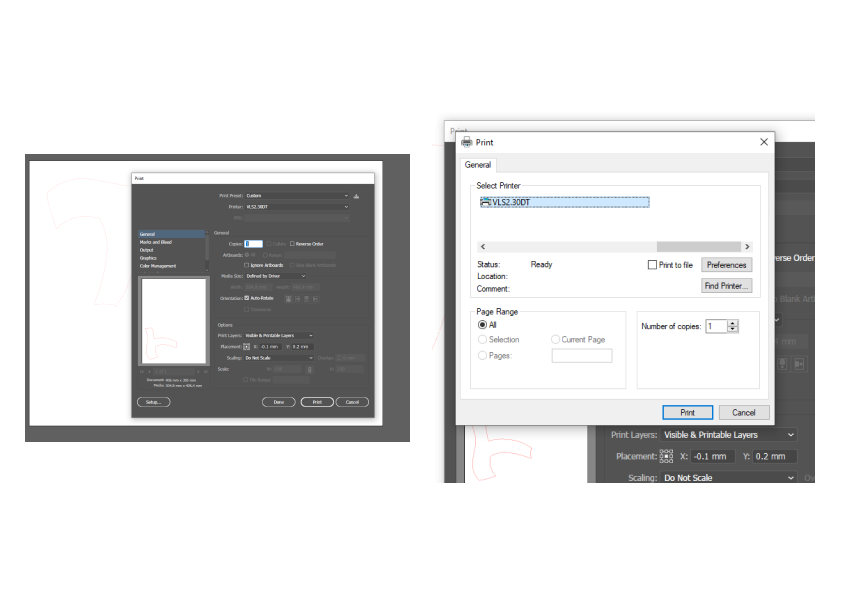
You will be presented with a popup that looks something like this:
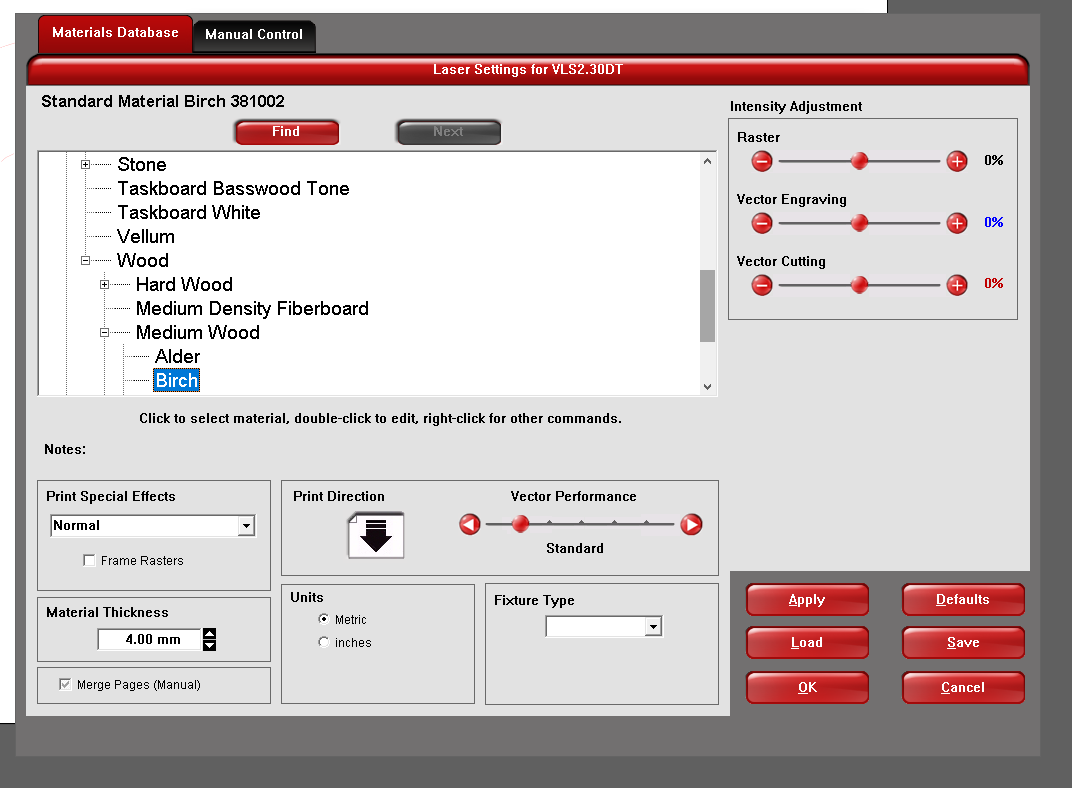
Assuming that you are printing onto wood, the material is a 4mm Medium Density Birchwood. If you are using a different material, change it from the list and measure the thickness.
Hit Apply, Okay, and then Print to send the data to the laser cutter.
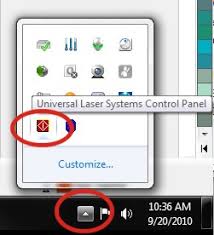
Nearly done! Now we must open up the laser cutter controls by opening the UCP icon in the toolbar.
You will see a preview of your laser cut. Now, turn the machine on by clicking the red power button on the top right-hand corner.
Before we clicking the green play button, make sure the extractor fan is on and you have loaded the material you want to cut out.
The extractor fan is located beneath the laser cutter.

